Outsourcing a ticket to a network or vendor
PERMISSIONS Outsource permissions
NAVIGATION Left Navigation Menu > Service Desk > Search > Tickets > click Search > open a ticket > Outsource > Other Partner
BEFORE YOU BEGIN To outsource a ticket to a network or vendor, the network or vendor must be added to your outsource network. Refer to Adding a network or vendor.
To outsource a ticket to a network or vendor, perform the following steps from the ticket detail page:
- To open the page, use the path(s) in the Security and navigation section above.
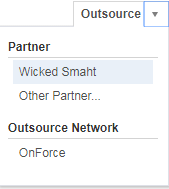
- Select the desired network or vendor from the Outsource menu on the ticket detail page.
- Designate the outsourcing action to take for the network or vendor you selected:
| Execute LiveLink | The LiveLink configured for the network or vendor will execute. For example, the LiveLink might open a service request form for the selected network or vendor, or access a network portal or vendor's website. |
| Send Email | The Send Email action triggers an email notification to one or more email addresses. When you select the network from the Outsource menu, the Send Email page opens. From this page you can edit the email recipients, subject, and default email body content. Click Outsource Ticket & Send Email to complete the process.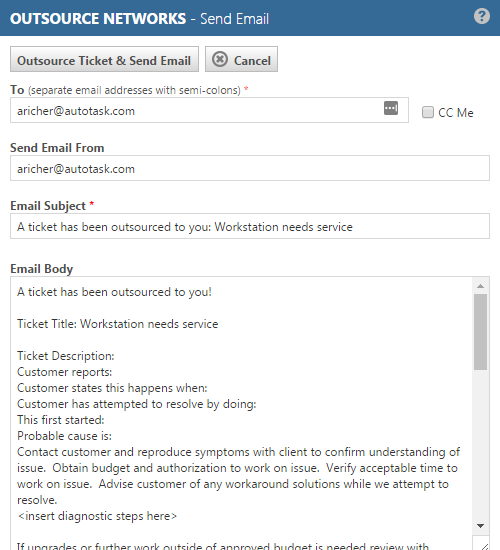 |
| No Action | The ticket's Outsource Status will be set to In Progress, but no other actions will occur.
TIP If no automatic action occurs, you must take manual action to inform the network or vendor that the ticket has been outsourced. |
When you successfully outsource the ticket, the Outsourced to: bar at the top of the ticket detail displays the network name, the outsourcing date and current status, and what, if any, action was executed.
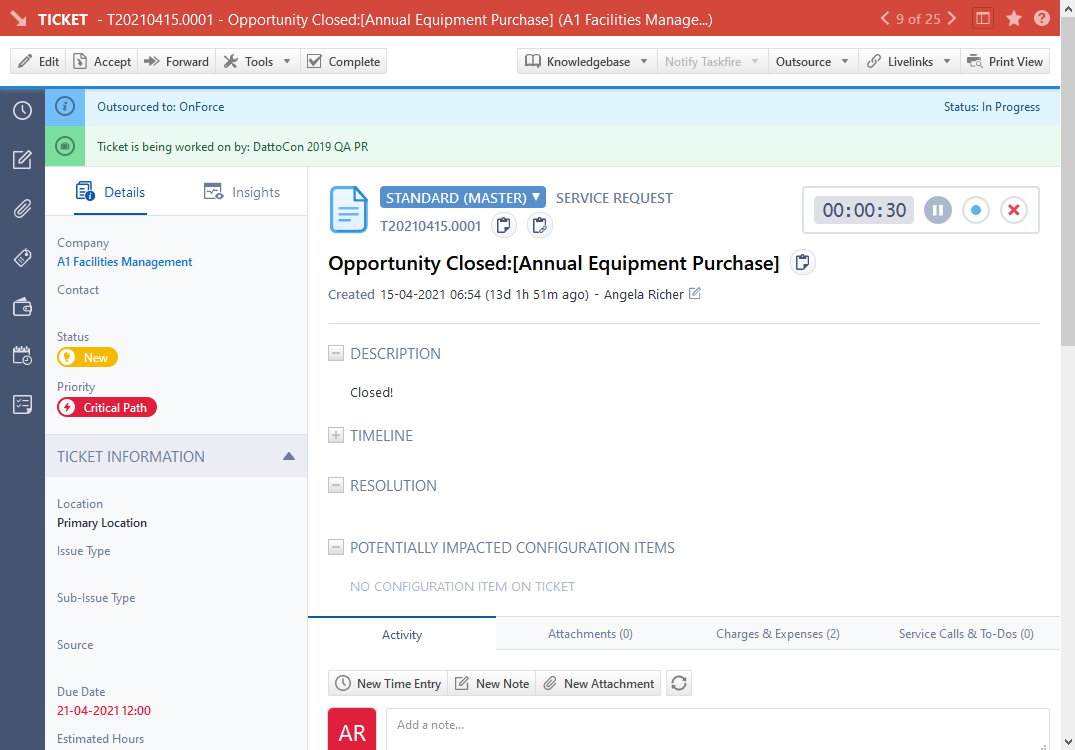
The initial outsource status is In Progress. If you specified an organization name or URL for the network configuration Link To option, you can click the network name to access the Organization page or the network website.
- To cancel or complete the outsource, click the Outsource drop-down menu and select the appropriate action. An email notification is sent to the network or vendor.
NOTE Once the ticket has been sent, there is no further automatic interaction between the Autotask ticket and the network or vendor. When you change the outsource status to Cancel, a message opens to remind you that you must notify the network manually that the ticket has been canceled.
The ticket appears in the Outsource Management dashboard under Outsourced Work: By Outsource Network.


