Completing a project
PERMISSIONS Permission to view projects. Refer to Project security settings.
NAVIGATION Left Navigation Menu > Projects > Search > Projects > click Search > context menu > View Project > Summary or User-Defined Fields > Options > Complete Project
The Complete Project Wizard walks you through a process that sets the project status to complete, sets all tasks and issues to complete, optionally creates devices from charges, and updates information for an associated Opportunity.
How to...
- To open the page, use the path(s) in the Security and navigation section above.
- Select Complete Project from the Tools dropdown menu.
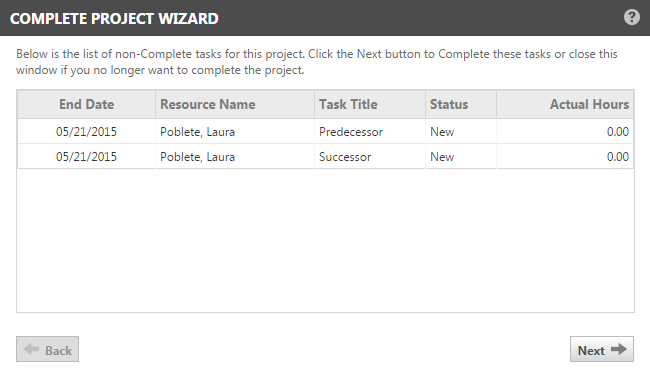
- Click Next to set all tasks for this project to complete and move to the next page.
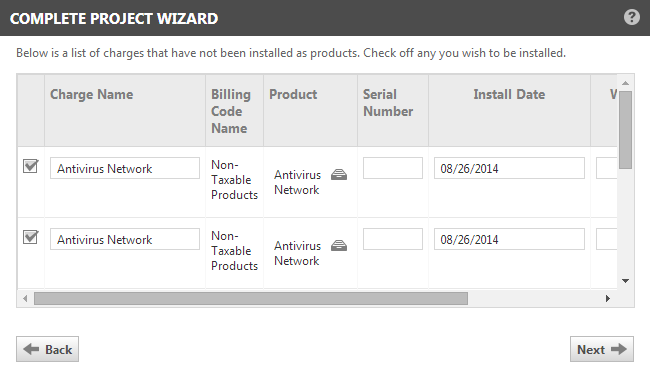
- Click to select the check box for each project charge you want to transfer into the Devices table for the organization.
Project charges can include incidental charges, like shipping, that are not appropriate for devices. Select only those items that you want to add to the organization as devices.
- If applicable, enter a Serial Number and Warranty Expiration Date.
- Click Next.
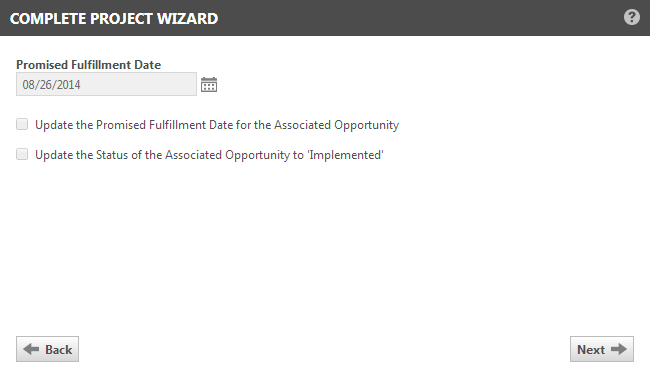
- If you want to update the Promised Fulfillment Date of an associated opportunity, check Update the Promised Fulfillment Date for the Associated Opportunity. Update the Promised Fulfillment Date field. This informs the salesperson about the project status.
To update the opportunity status to Implemented, select the check box.
- Click Next.
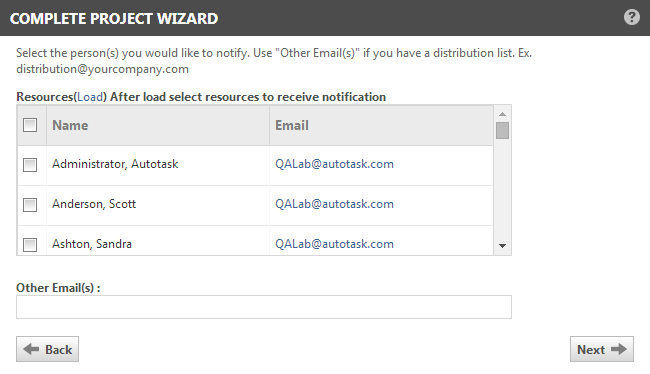
- To notify others that the project is completed, select resources and enter external email addresses.
- Click Next.
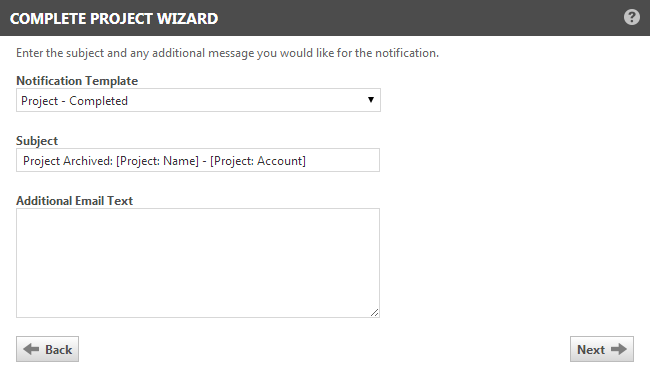
- Complete the notification fields. Refer to Generating a manual notification.
- Click Next.
The last page summarizes the actions that will be performed when you click Finish. In addition, the project status is set to Complete, the status date is set to the finish date, and a project note is added. "Project was set to complete." is appended to Status Detail field.
- Click Finish to complete the project.
The project status is now Complete. The project is no longer an open project.
TIP You can locate the newly added devices on the Devices tab in the Organization page or with a devices search in CRM.
- Navigate to the Project Schedule page and select Actions > Mark Project as Complete.
- The status of the projects and all tasks and issues is set to Complete. Charges and expenses are not updated.
You can find a completed project through the Project Search:
- For Project Type, select All Projects.
- For Status, select Complete.
To further narrow the search, specify additional criteria such as Organization Name or Project Lead.
- Click Search.
- Locate the project in the search results list.
NOTE When you complete a project, it will no longer appear when you perform a quick search using the top bar in Autotask. You must use the Projects module Project Search page and set the Status filter to Complete.


