Establishing sales quotas
PERMISSIONS Security level with Admin permission to configure Sales & Opportunities. Refer to Admin security settings.
NAVIGATION Left Navigation Menu > Admin > Admin Categories > Features & Settings > Sales & Opportunities > Sales Quotas
Autotask allows you to establish sales quota for all sales resources in your organization. Actual sales performance can be measured against quota for each sales resource, territory or region on a monthly, quarterly or annual basis.
NOTE In Autotask, the revenue counted towards meeting sales quotas is tracked through the Advanced Fields on opportunities. Refer to Tracking sales quota metrics .
Adding and removing sales resources
Not all resources in your database will have sales quotas. To assign a quota to a resource, do the following:
- On the Sales Quotas page, click New. The Add Sales Resource window will appear.
- Click the dropdown control and select a resource.
- Click Save & Close.
The resource's name is added to the list.
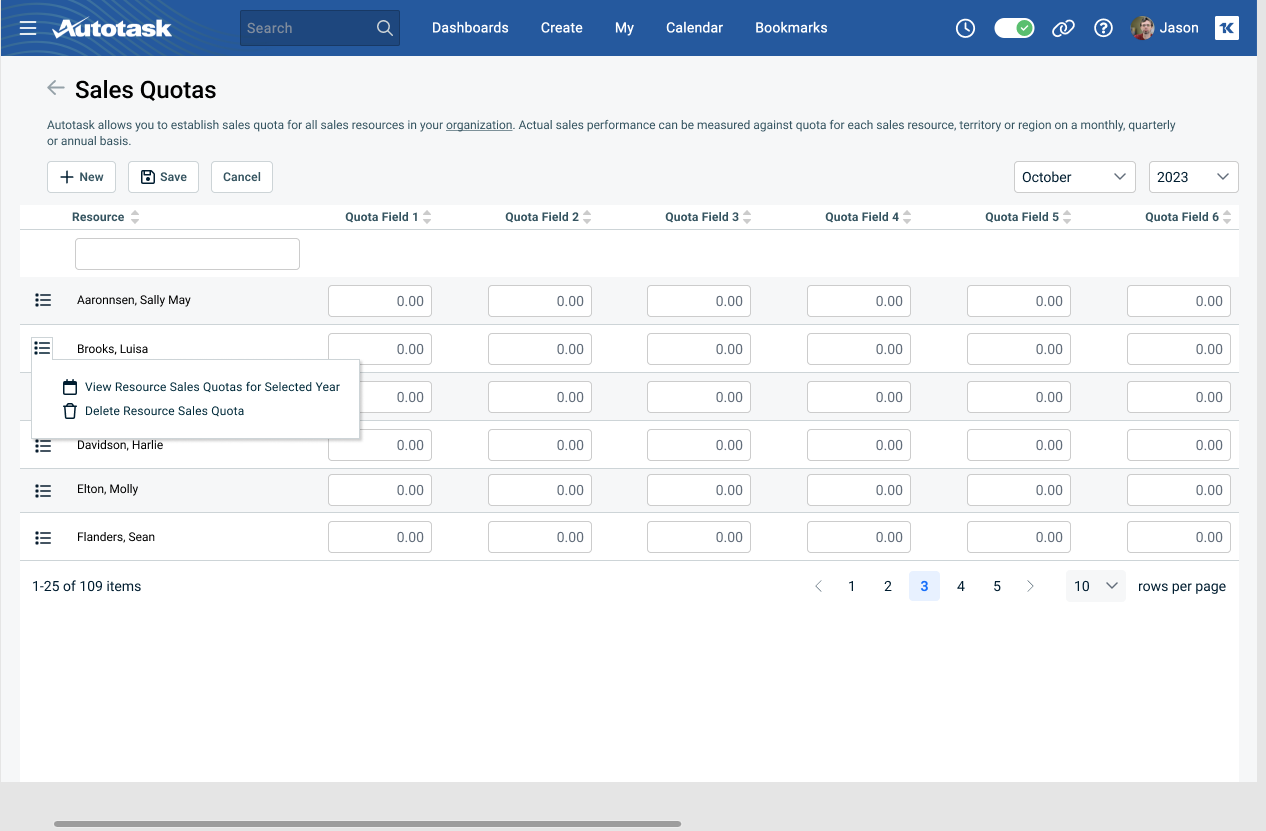
To delete a resource from the list, click the context menu and select Delete Resource Sales Quota.
Setting up sales quotas for all resources for a selected month
To assign sales quotas to multiple resources for a selected month, do the following:
- To open the page, use the path(s) in the Security and navigation section above..
- In the upper right corner of the Sales Quota page, select the month and year that you want to assign quotas for from the drop-down lists.
- To assign goals for a resource for each Sales Quota Performance Metric, move your cursor to the appropriate cell in the resource's row and enter an amount.
- The Amount metric should equal the total quota that the resource is responsible for during the month.
- Once the numbers for each individual are added to the worksheet, click Save.
The Sales Quota numbers will be displayed on the Sales Representative's CRM Dashboard.
Adding sales quota for one individual for an entire year
You can also add sales quota for one individual for an entire year.
- From the context menu on a resource row, select View Resource Sales Quotas for Selected Year. The resource's quota page will open.
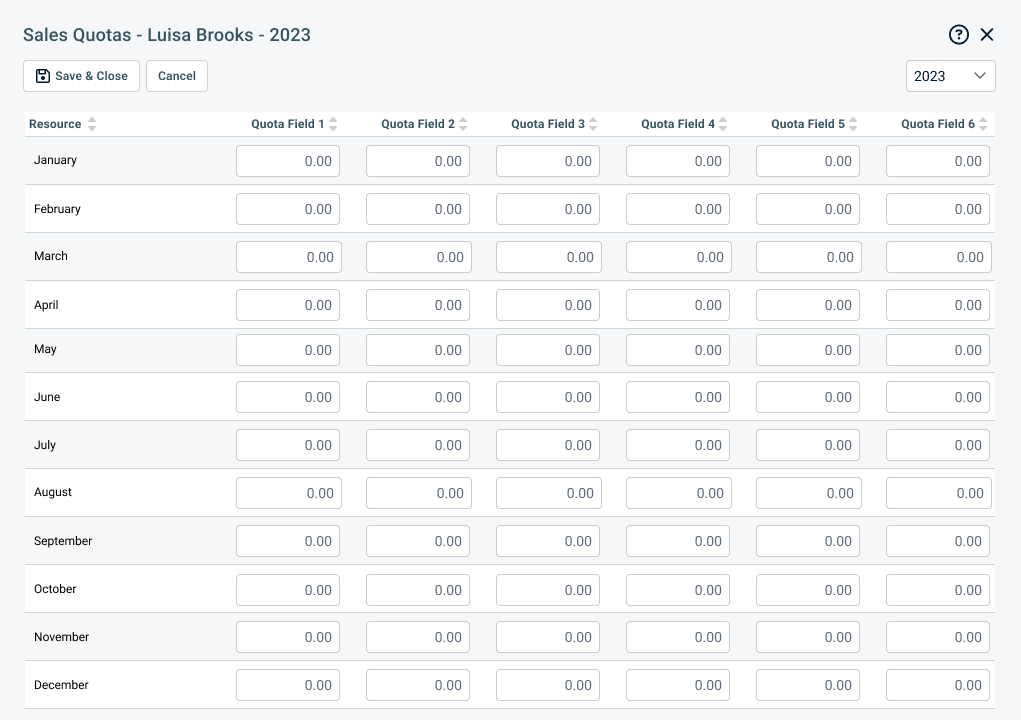
- Populate the quota fields as desired.


