Initial setup of the web connector
PERMISSIONS Admin access to the QuickBooks data file and security level with permission to configure the QuickBooks Extension. Refer to Admin security settings.
NAVIGATION Open QuickBooks > File > Update Web Services
NAVIGATION Left Navigation Menu > Admin > Admin Categories > Extensions & Integrations > QuickBooks Extension
NOTE To learn everything about the QuickBooks Extension for Desktop, refer to the landing page for documentation links, configuration steps, videos, and walk-throughs that help you set it up.
 QuickBooks Tax Settings
If you already use QuickBooks, you should be all set. If you are new to QuickBooks, confirm that your QuickBooks data file includes at least one tax agency vendor account and two tax codes:
- In the US: Tax and Non
- In Canada and the UK: S and E
 Review the system setting settings that impact data transfer to QuickBooks
New Autotask customers: import QuickBooks customer records to Autotask
NOTE This step is optional, but recommended to avoid duplication of customer records in QuickBooks.
If the Autotask Organization Name field does not exactly match the QuickBooks Customer Name field, the data transfers will create duplicate customer records in QuickBooks. The best way to avoid duplication is to import your customers from QuickBooks to Autotask. Refer to Importing QuickBooks customer records into Autotask.
Download and configure the Intuit Web Connector
Now you are ready to create your first web connector. The first web connector will be the default (a setting that cannot be changed), and it must be linked to your main QuickBooks data file (assuming you have more that one).
Refer to Steps 1 - 5 in Adding or editing a single or first web connector.
At this point, QuickBooks financial accounts and classes have been imported into Autotask, and you can now complete the final configuration steps from the context menu:
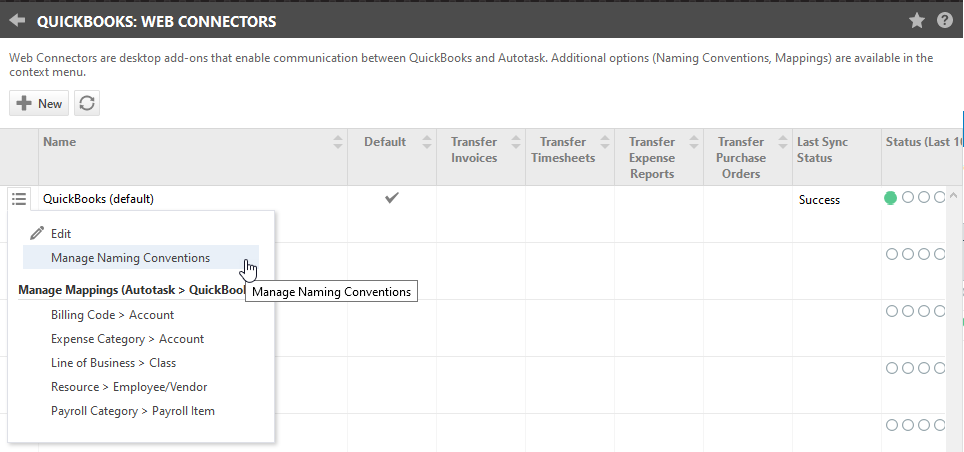
- Managing Naming Conventions
- Mapping billing codes to QuickBooks financial accounts
- Mapping lines of business to QuickBooks classes
Turn the integration on
Now you are ready to turn the integration on. Refer to Step 6: Enable Transfer/Sync (in Autotask).


